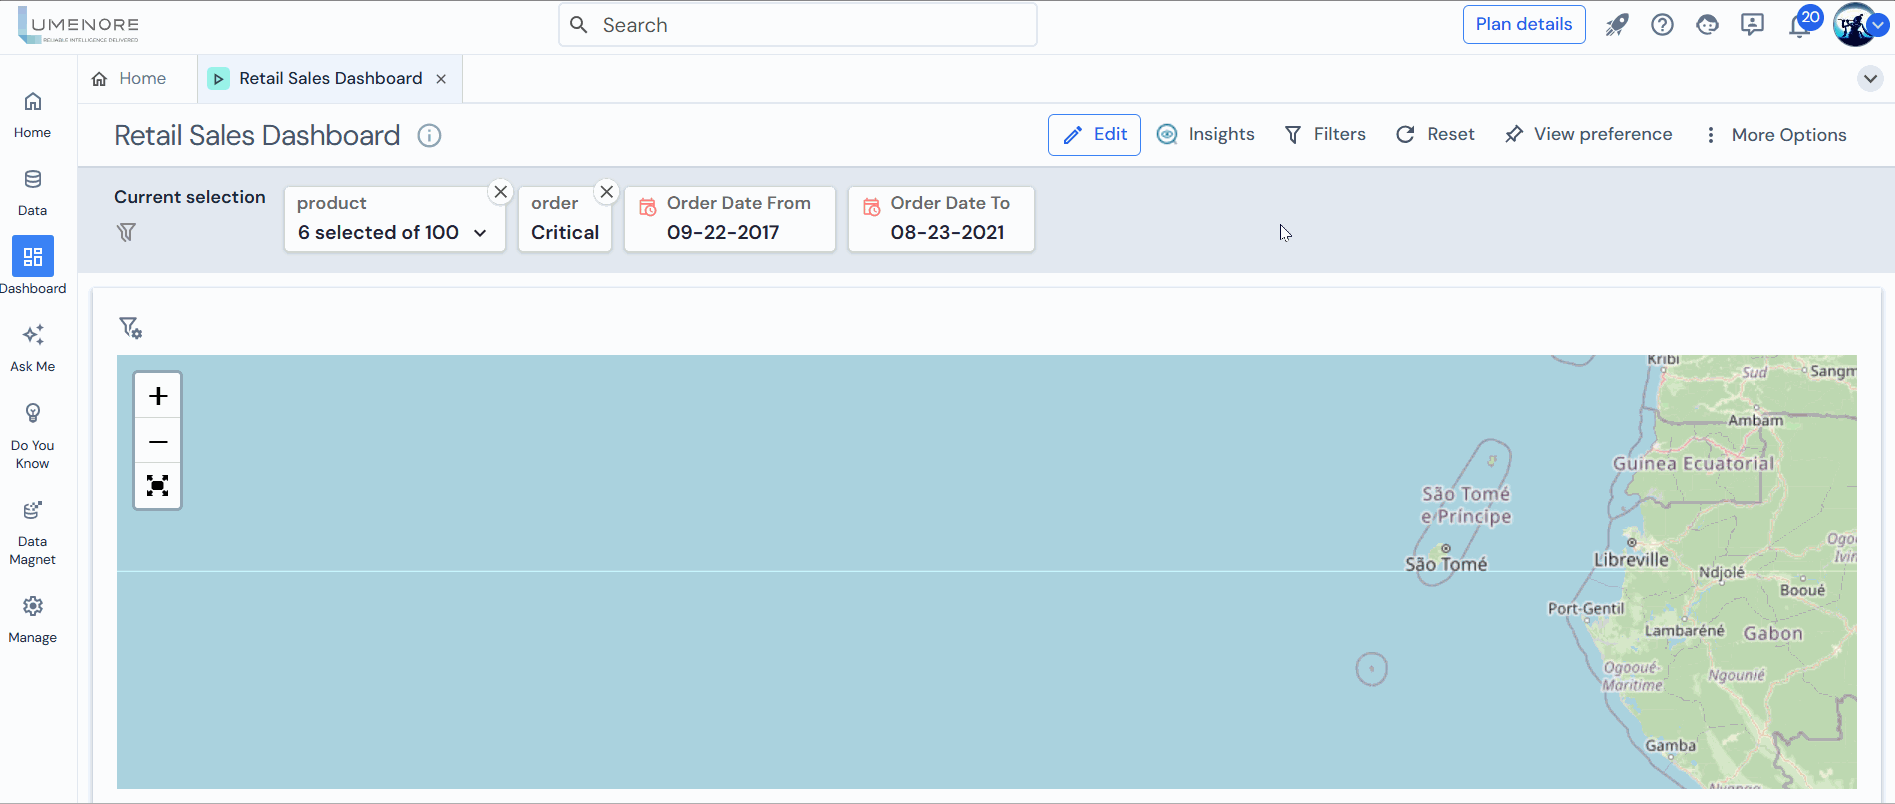
Set filter preferences
Once the dashboard is published after applying filters, users can use the set preference feature to set their preferred view. You can save your applied filters if you have multiple filters on your dashboard and frequently apply the same filters to view specific information. Then, whenever you want to view that specific information, you can use these saved preferences with just one click.
To save your preferences, follow these steps:
- After creating filters, publish the dashboard and open the published dashboard to access the set preference feature.

- Select the “Filter” option.
- Your applied filters will appear on the filter screen; choose the desired data filtering from the drop-down
- After making the desired filter selection, apply it and save your preference by clicking “Save Preference.”
- Enter the preference name and choose whether you want to set this preference as the default or not.
- Click “Save.”
Preference 1:

Preference 2:

Preference 3:

Note: You can select only one preference as default at a time.
-
- You can view all the preferences you have created from the drop-down Click on the preference you want to apply to the filter.
-
- You can delete any of the created preferences or clear them all by clicking on the delete option.

