Facebook Ads
The Facebook Ads connector allows Lumenore to connect securely to Facebook Ads data through a simple authorization process, enabling users to import campaign performance metrics such as impressions, clicks, conversions, spend, reach, audience targeting details, and ROI insights via APIs and files. With this integration, marketing teams can monitor ad performance in real time, compare campaigns, optimize budgets, and leverage AI-driven analytics to improve advertising effectiveness across channels.
Steps to connect:
Step 1: Navigate to Home > Connect Data > Facebook Ads.
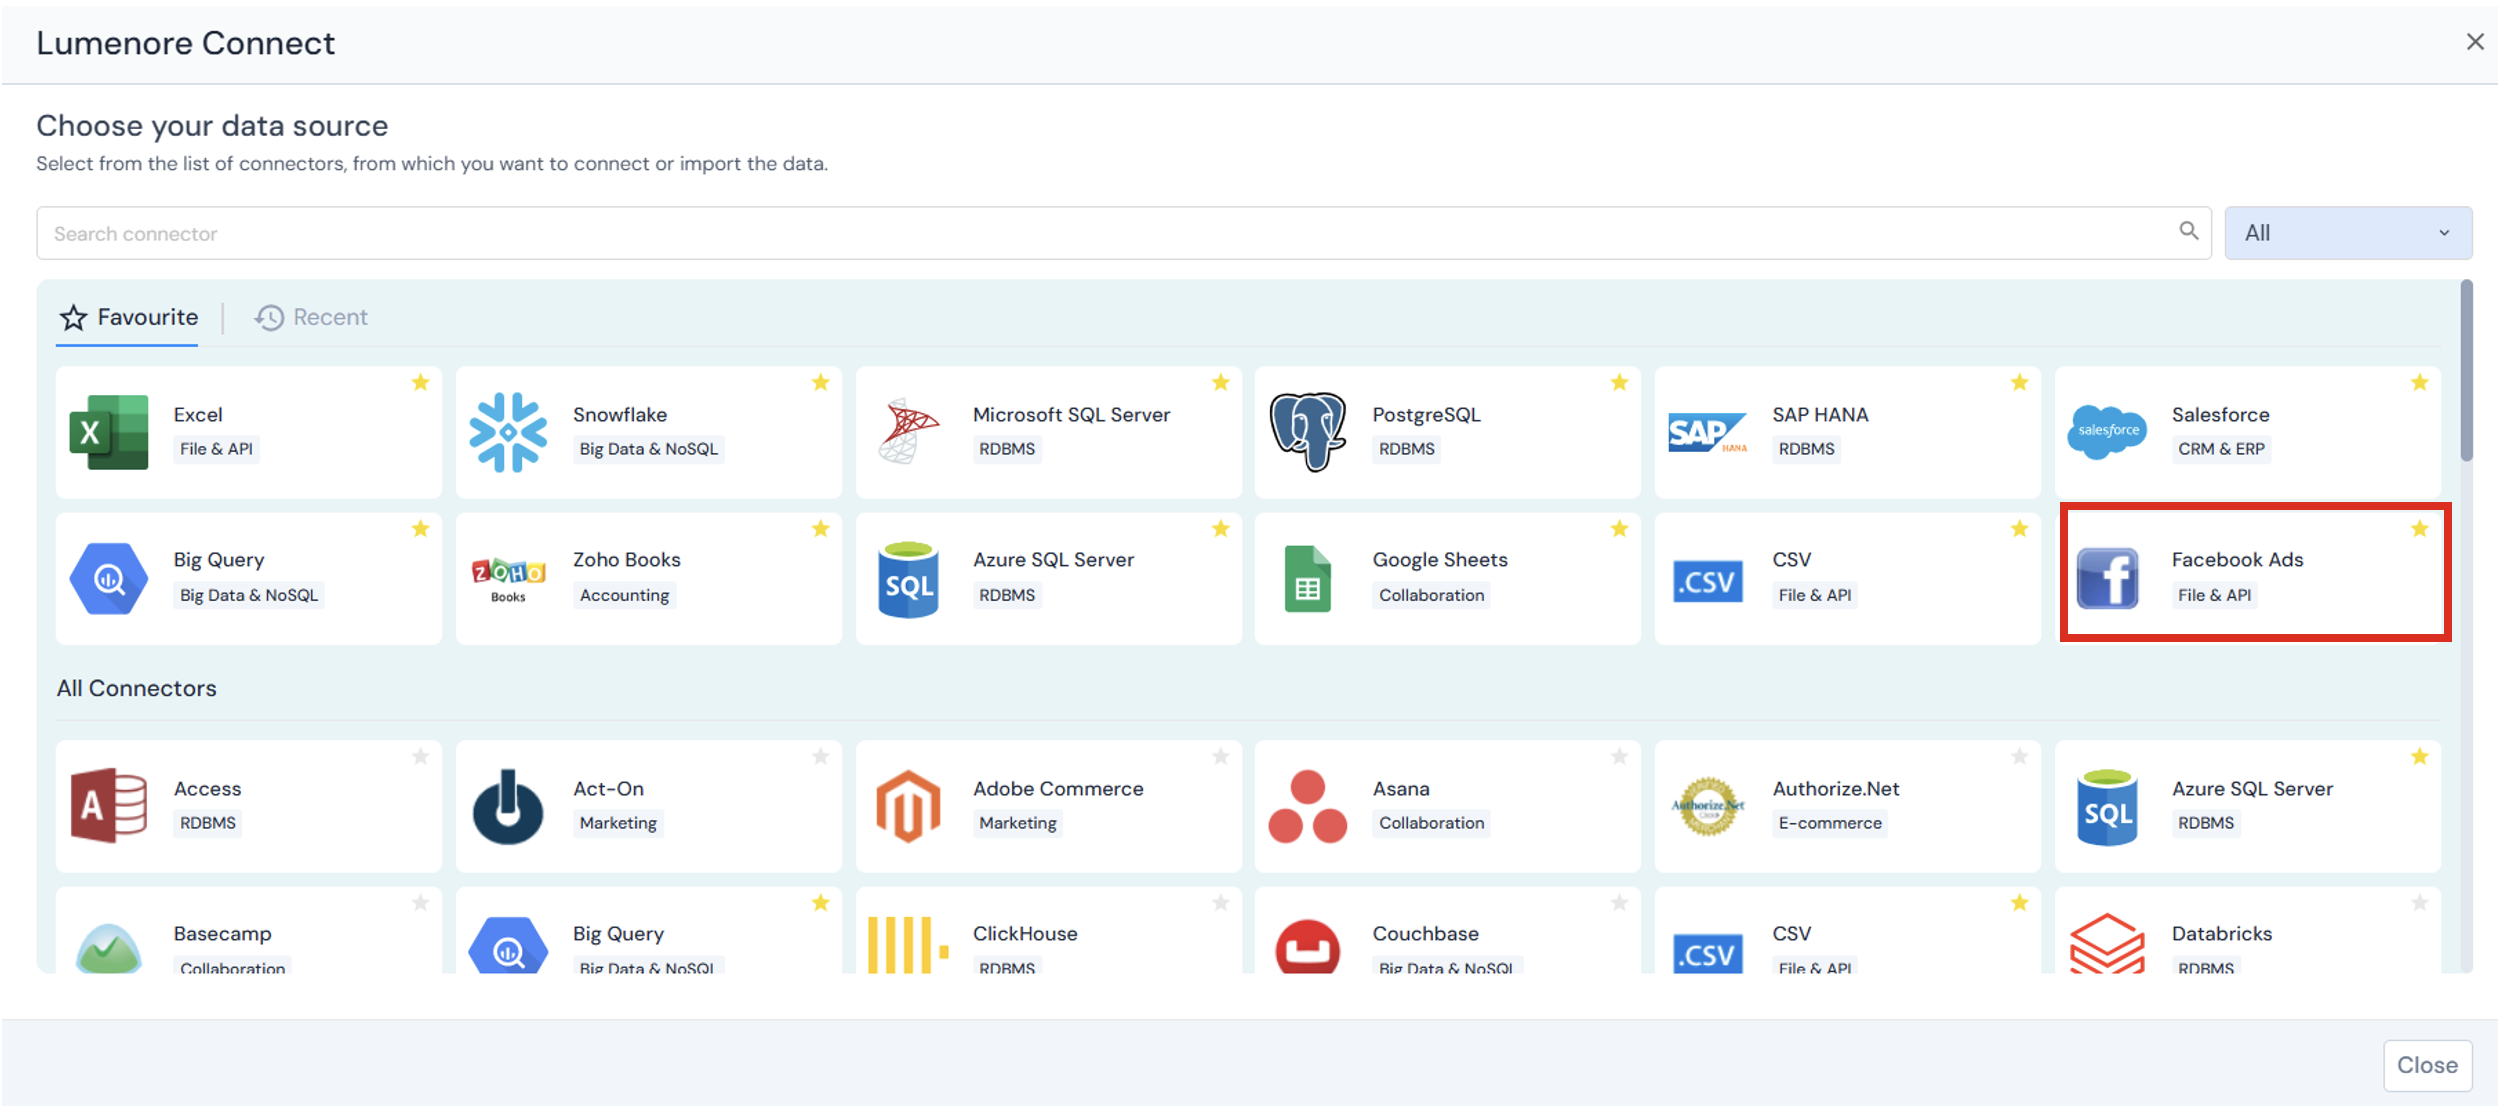
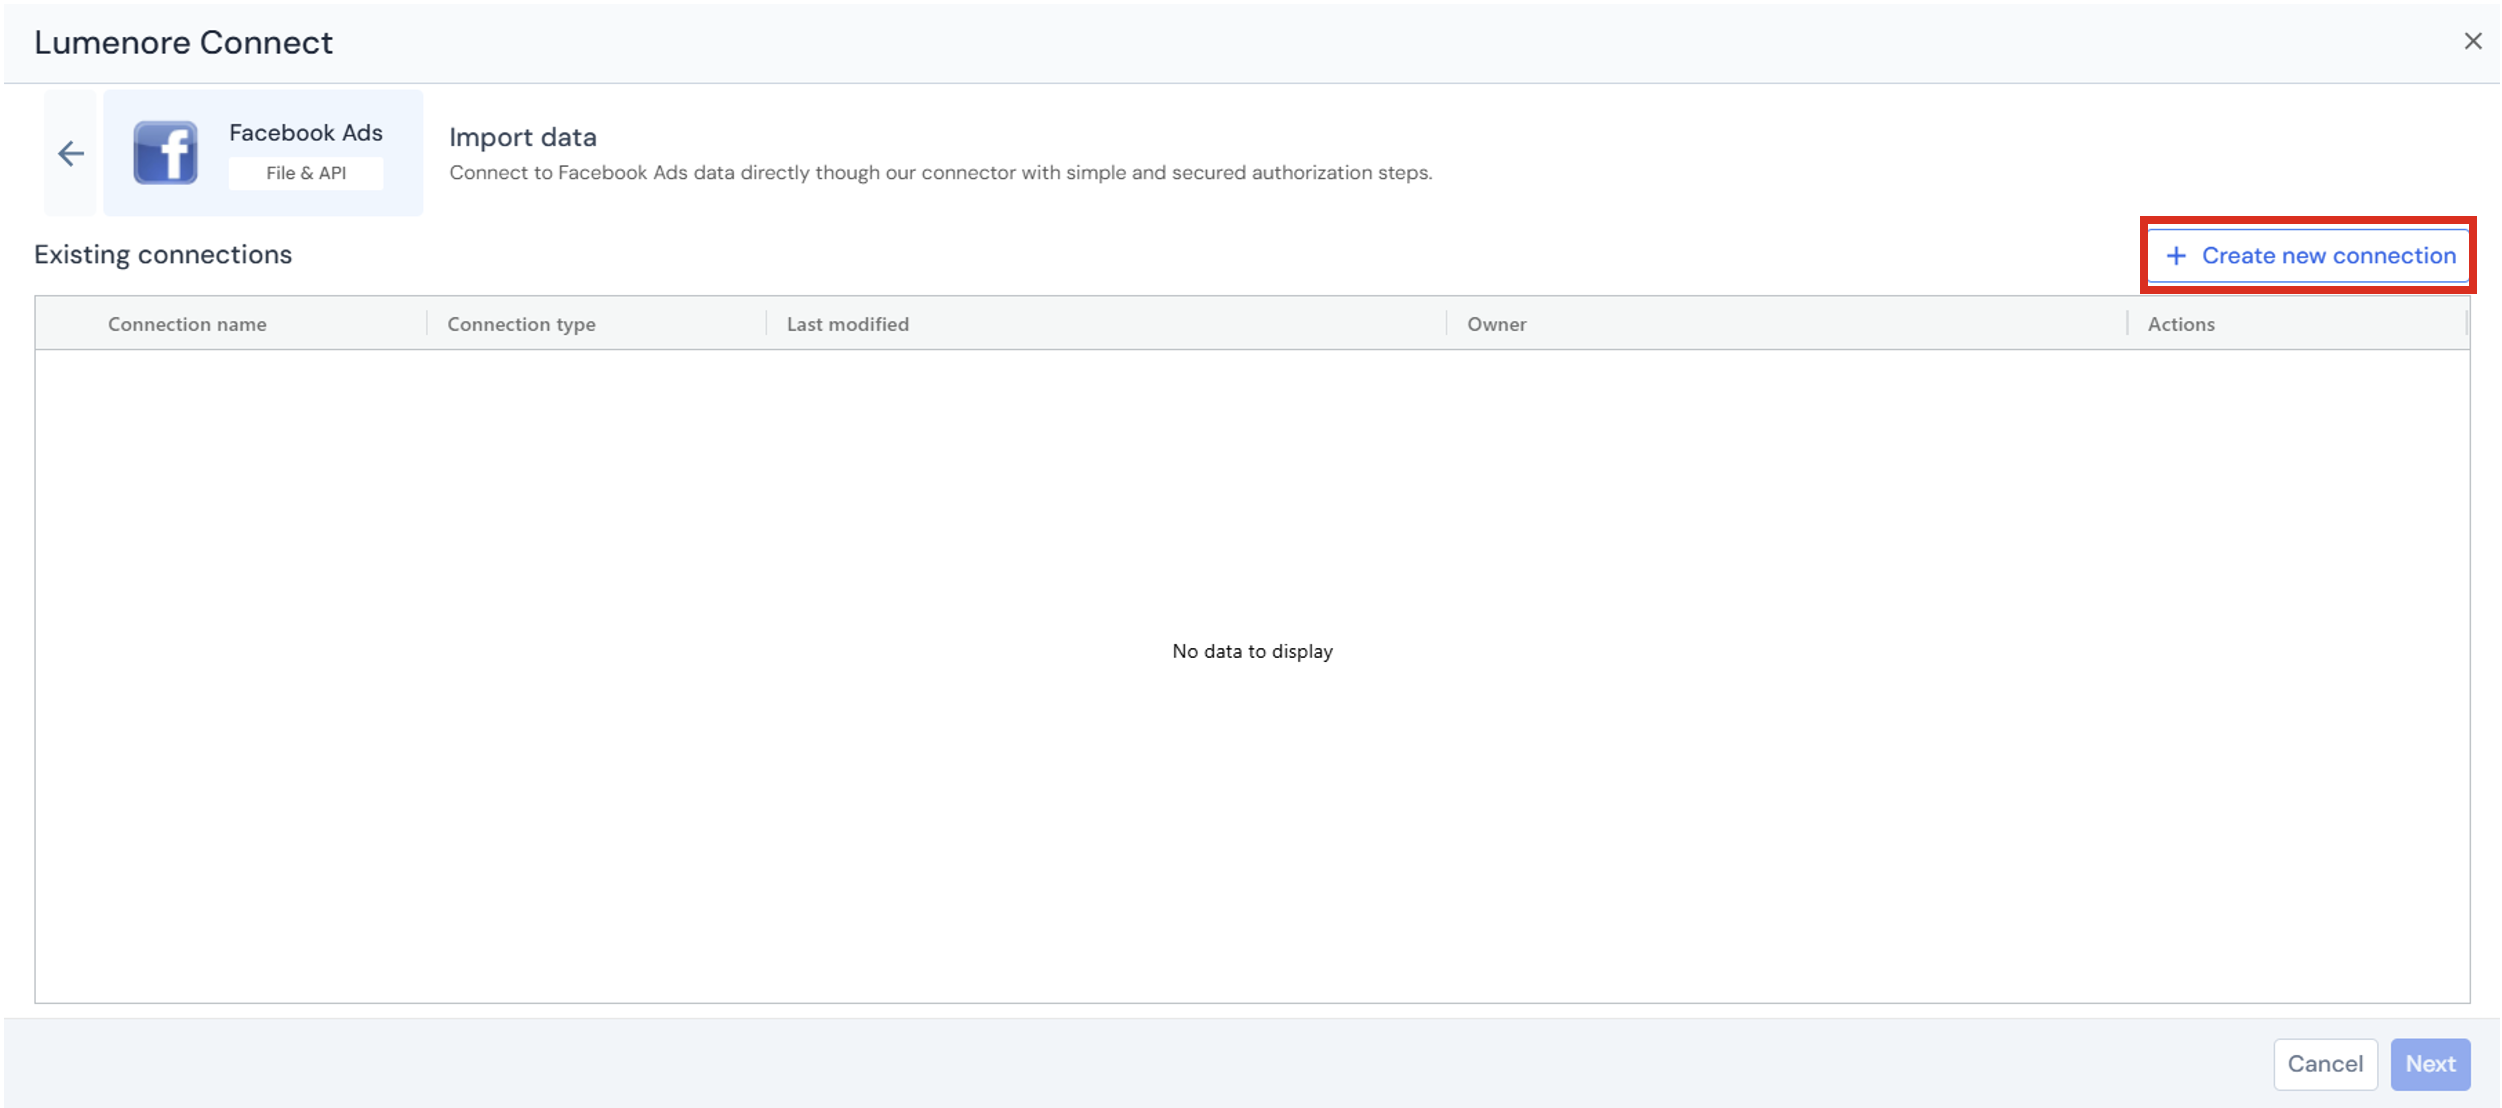
Step 2: Click Create New Connection to set up a new connection or select an existing connection to proceed.
Step 3: Enter the Ad Account id, then click Authorize to complete the connection.
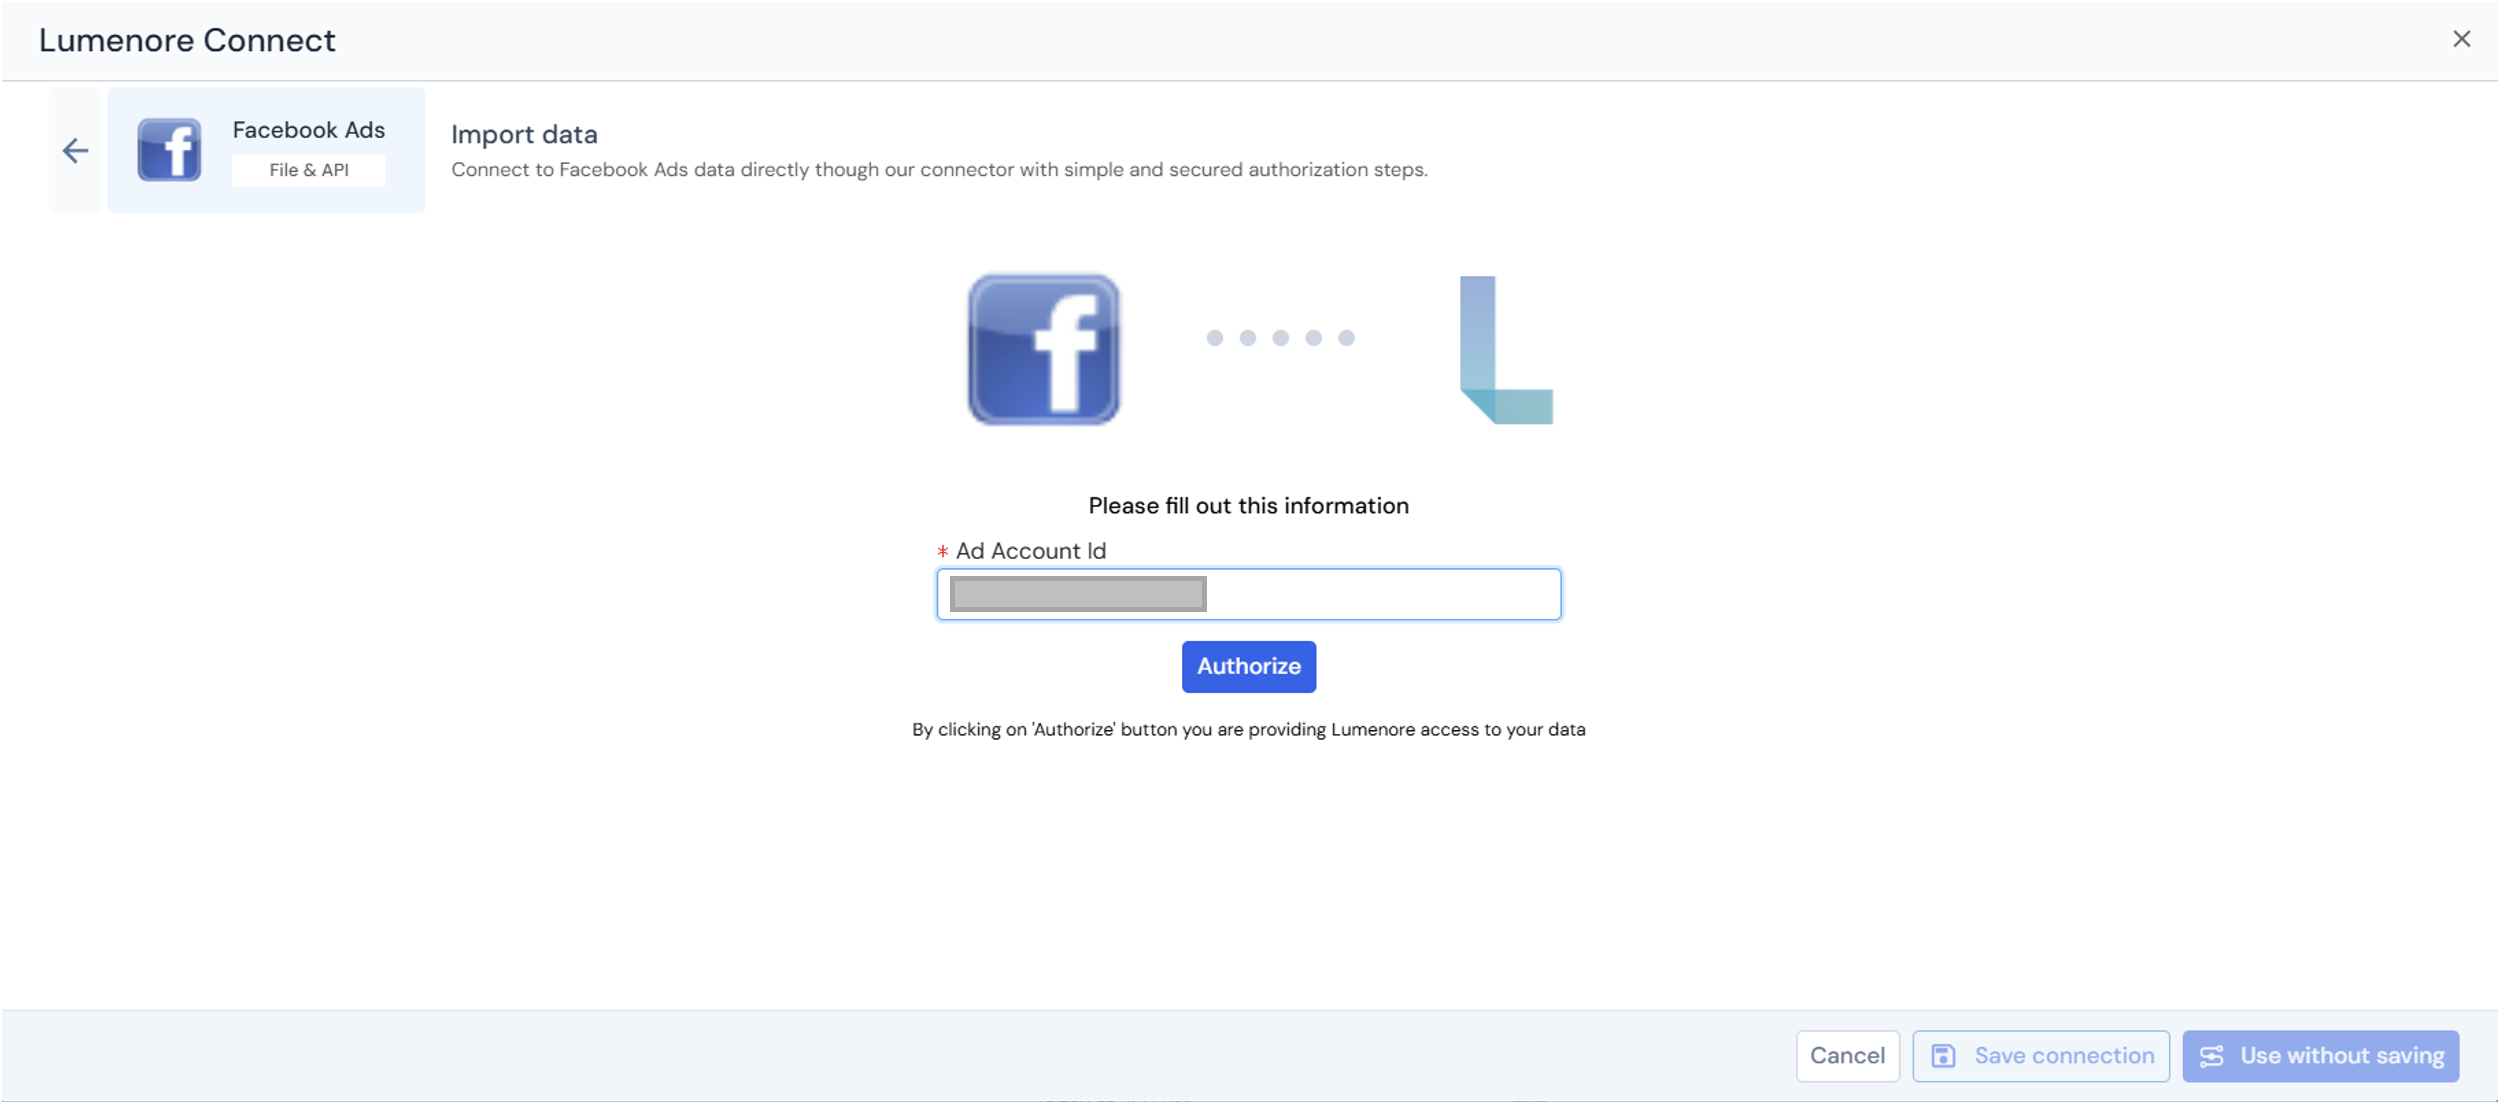
Step 4: Provide account credentials.
Step 6: Once the account is selected or created, a success message confirms the authorization. Provide a connection name, then continue using the connection with or without saving it.
Step 7: After saving, the connection appears in the existing connections list.
Note: When the user clicks the three dots under the Action column, the options Use This Connection, Modify, or Delete are displayed. To start using a connection, select it and click Next.
Step 8: Select the connection and click Next.
Step 9: Select the table you want to export to the Lumenore database. You can also view the data by clicking the Preview tab.
- Preview table data:
Preview table data lets you quickly view a sample of records from the selected table before proceeding.
- Filter data:
The Filter data section allows you to restrict the rows loaded from the selected table based on specific conditions.
- Transform data:
The Transform Data tab below provides options for cleaning and enriching your data before loading it into the database.
Step 10: Click “Save Dataset” to complete data ingestion.
Step 11: Provide the Dataset name and description (optional). Click Ok.
Step 12: A “Dataset saved successfully” message is displayed. After this, the user can cancel and start using the dataset or create a schema by clicking the Create Schema option.
